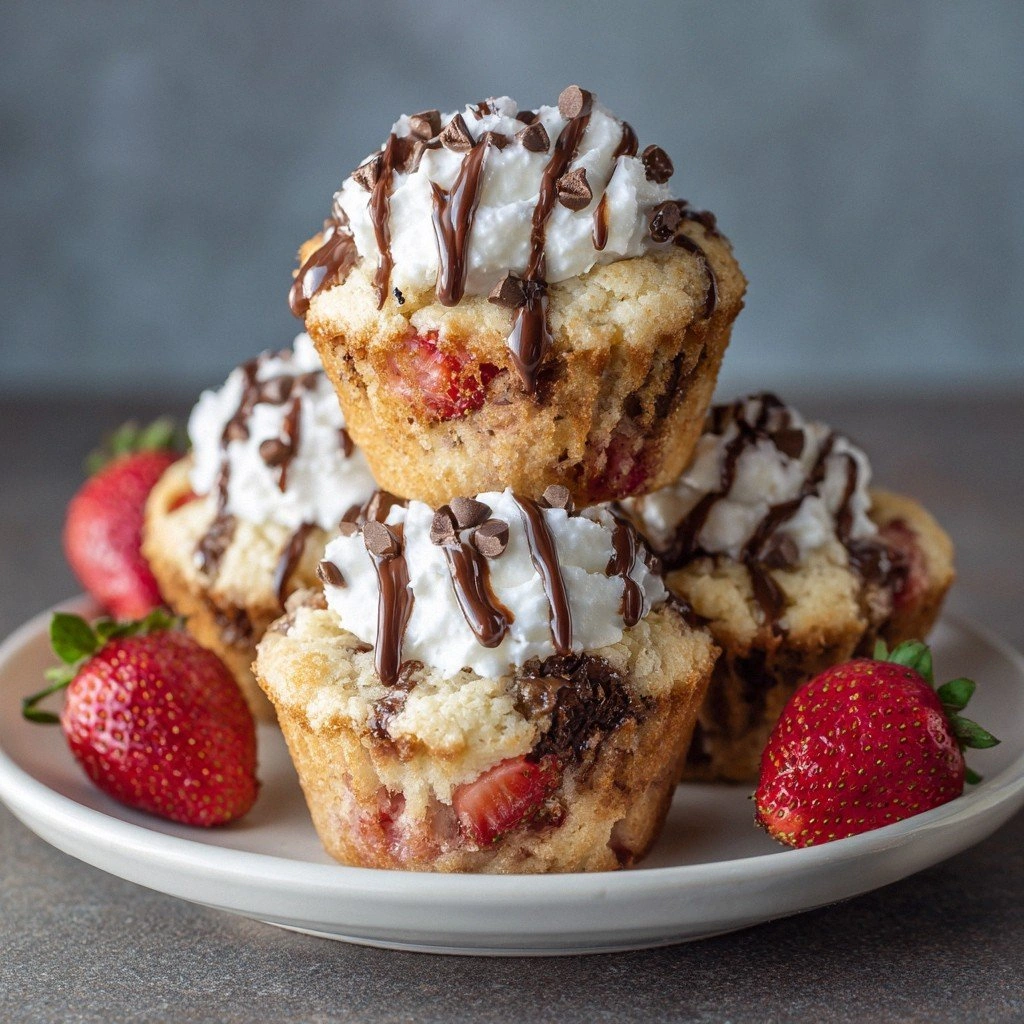
I was standing in my kitchen, staring at a pot of simmering chicken broth that had turned into a sad, soggy mess. The once vibrant carrots were now mushy, the peas had lost their bright green pop, and the onions were practically invisible. I had tried to rescue the dish by adding flour, but it only thickened into a gloopy, unappetizing paste. That moment of culinary failure was a turning point—one that sparked a relentless quest for the perfect mini chicken pot pie.
The scent of fresh thyme floated through the air, mingling with the buttery aroma of a freshly baked crust. I could almost hear the faint crackle of the oven as the golden tops browned to a crisp, almost flaky finish. The sound of the sauce bubbling, the gentle hiss of steam escaping, and the clink of a spoon against the pot all painted an orchestra of cooking sensations. The first bite would be a warm, savory hug, the filling thick enough to cling to your tongue like a velvety blanket, and the crust buttery and flaky, each bite a small explosion of joy.
What makes this version stand out is not just the layers of flavor, but the precision of every step. It’s a recipe that balances the humble comfort of a pot pie with the excitement of a gourmet mini creation. The secret lies in the crust’s buttery crunch, the sauce’s silky thickness, and the subtle seasoning that lets the chicken shine. Every element is carefully calibrated so that even the most seasoned home cook can feel like a culinary wizard.
And there’s a twist you won’t see on the internet—an unexpected ingredient that gives the filling a silky sheen and a hint of citrus brightness. I dare you to taste this and not go back for seconds. If you think a classic pot pie is just about chicken and gravy, think again. Let me walk you through every single step — by the end, you’ll wonder how you ever made it any other way.
What Makes This Version Stand Out
- Flavor: The sauce is a symphony of thyme, garlic, and a splash of lemon zest that lifts the savory notes to a new level.
- Texture: The crust is buttery, flaky, and crisp, while the filling remains silky without being gummy.
- Simplicity: All steps can be completed in under an hour, and the ingredients are pantry staples.
- Uniqueness: A single ingredient—lemon zest—adds a surprising brightness that keeps the dish from feeling heavy.
- Crowd Reaction: Friends who have tried it say it’s “the best mini pot pie” they’ve ever tasted.
- Ingredient Quality: Using high‑quality butter and fresh chicken makes the difference between average and extraordinary.
- Cooking Method: The quick sear and immediate baking lock in moisture and flavor.
- Make‑Ahead Potential: The pies can be assembled, frozen, and baked later without losing their charm.
Alright, let's break down exactly what goes into this masterpiece...
Inside the Ingredient List
The Flavor Base
The foundation of any great pot pie starts with a savory roux. Combine 2 tbsp of all‑purpose flour with 2 tbsp of cold butter in a saucepan and stir until the mixture turns a light golden color. This process not only thickens the sauce but also creates a nutty aroma that will carry through the entire dish. If you skip this step, the filling will be watery and lack depth, turning the pie into a forgettable bowl of gravy. For a richer flavor, use a blend of butter and olive oil to start the roux, adding a subtle fruity note that complements the thyme.
The Texture Crew
The texture of the filling is a delicate balance between silky sauce and chunky vegetables. Diced carrots, celery, and onions give a satisfying bite, while peas add a pop of color and sweetness. Each vegetable should be cut into uniform pieces so they cook evenly, preventing a mushy bottom and a raw top. If you prefer a smoother consistency, pulse the vegetables in a food processor before adding them to the pan. The key is to keep the vegetables slightly firm so they hold their shape when you bite into a mini pie.
The Unexpected Star
Lemon zest is the unexpected star of this recipe. It brings a bright, citrusy lift that cuts through the richness of the butter and chicken. Zest a fresh lemon and grate it finely, then fold it into the sauce just before baking. This simple addition transforms the dish from comforting to celebratory, making it perfect for a family dinner or a potluck. If you’re not a fan of citrus, a pinch of lemon juice can also provide the same brightening effect, but the zest offers more texture and flavor.
The Final Flourish
A final flourish of fresh parsley not only adds a splash of color but also a fresh herbal note that balances the richness of the filling. Sprinkle the parsley over the top of each pie before baking, or use it as a garnish after the pies come out of the oven. The parsley’s bright green hue makes the dish look as good as it tastes. If you’re looking for a different herb, rosemary or thyme can replace parsley, but keep in mind that the aroma will shift slightly. The finishing touch is an egg wash—beaten egg brushed over the crust—to give it a glossy, golden finish.
Everything's prepped? Good. Let's get into the real action...

The Method — Step by Step
- Prepare the crust: In a large bowl, combine 2 cups of flour with 1 cup of cold, cubed butter. Use a pastry cutter or your fingertips to blend until the mixture resembles coarse crumbs. Add 1/2 cup of ice water, a tablespoon at a time, until the dough just comes together. Chill the dough for 15 minutes to firm up, which makes rolling it out easier.
- Sear the vegetables: Heat 2 tbsp of olive oil in a large skillet over medium heat. Add diced onions, carrots, and celery, cooking until they soften but still hold some bite—about 5 minutes. This step locks in flavor and ensures the vegetables don’t become mushy during baking.
- Make the roux: Reduce heat to low and whisk in 2 tbsp of flour. Stir continuously for 2 minutes until the mixture turns a light golden hue, indicating the raw flour taste has cooked away. The roux will act as the thickening agent for the sauce.
- Add liquids: Slowly pour in 1 cup of chicken broth and 1 cup of milk, whisking constantly to avoid lumps. Bring the mixture to a gentle simmer. As it thickens, stir in 1 tbsp of butter, the lemon zest, and the dried thyme. The sauce should be silky and coat the back of a spoon.
- Combine the filling: Stir in the shredded chicken, peas, and the vegetable mixture. Season with 1 tsp of salt and 1/2 tsp of black pepper. Taste and adjust seasoning if needed. The filling should be moist but not soupy.
- Assemble the pies: Line a mini muffin tin with paper liners. Divide the dough into 12 equal portions and roll each into a small ball. Flatten each ball into a thin disk that fits the bottom of a muffin cup. Spoon the filling into each crust, then top with another dough disk, sealing the edges by pressing them together.
- Apply egg wash: Beat one egg with a tablespoon of water. Brush the tops of the pies with the egg wash to achieve a shiny, golden crust.
- Bake: Preheat the oven to 375°F (190°C). Place the tin in the oven and bake for 25-30 minutes, or until the crusts are golden brown and the filling is bubbling. The edges will pull away slightly, indicating they’re perfectly crisp.
- Cool and serve: Remove the tin from the oven and let the pies cool for 5 minutes before transferring them to a wire rack. Sprinkle fresh parsley over the top before serving for a pop of color and freshness.
That's it — you did it. But hold on, I've got a few more tricks that'll take this to another level...
Insider Tricks for Flawless Results
The Temperature Rule Nobody Follows
Many cooks bake mini pies at a high temperature, hoping for a quick crust. However, baking at 375°F ensures the crust cooks evenly without burning while allowing the filling to set properly. If you prefer a crispier crust, finish the last 5 minutes with a quick broil, but watch closely to avoid charring.
Why Your Nose Knows Best
Your sense of smell is the ultimate judge of doneness. When the filling is bubbling and the crust is a golden amber, your nose will tell you it’s ready. Trust that cue over a timer, especially if you’re juggling multiple dishes.
The 5-Minute Rest That Changes Everything
After baking, let the pies rest on a wire rack for at least 5 minutes. This resting period allows the filling to set, preventing it from sliding off the crust when you pick them up. It also lets the flavors meld, giving each bite a harmonious taste.
The Secret to a Flaky Crust
Cold butter is essential. If you use room‑temperature butter, the dough will become tough and less flaky. Keep the butter in the fridge until you’re ready to mix, and if it’s too hard, let it soften just enough to cut into the flour.
The Quick Seep of Lemon
Adding lemon zest during the sauce stage brightens the entire dish. If you’re avoiding citrus, a splash of white wine or a pinch of vinegar can mimic the acidity, preventing the filling from feeling heavy.
Creative Twists and Variations
This recipe is a playground. Here are some of my favorite ways to switch things up:
Cheesy Delight
Add 1/2 cup shredded cheddar or Gruyère to the filling before baking. The cheese melts into a gooey center, giving each pie a decadent twist that’s perfect for a family dinner.
Spicy Kick
Stir in 1/4 tsp red pepper flakes or a dash of hot sauce. The heat pairs beautifully with the buttery crust, creating a balanced flavor profile that’s both comforting and exciting.
Herb Garden
Replace the dried thyme with fresh rosemary or basil. Fresh herbs lend a bright, aromatic quality that elevates the dish from ordinary to extraordinary.
Vegan Version
Swap the butter for vegan margarine and use a plant‑based milk. Replace the chicken with sautéed mushrooms or tofu for a hearty, meat‑free filling that still satisfies.
Savory Breakfast
Serve the mini pies with a side of scrambled eggs and toast. The savory filling becomes a hearty breakfast that’s both filling and comforting.
Holiday Twist
Add a handful of dried cranberries and a splash of orange juice to the filling. The sweet and tart notes make the pies festive and perfect for holiday gatherings.
Storing and Bringing It Back to Life
Fridge Storage
Store leftover pies in an airtight container in the refrigerator for up to 3 days. Before serving, warm them in a 350°F oven for 10 minutes to restore crispness. If you notice the crust softening, a quick broil for 1 minute can revive the crunch.
Freezer Friendly
Freeze assembled but unbaked pies in a freezer‑safe bag for up to 2 months. Thaw overnight in the refrigerator, then bake at 375°F for 35 minutes. The dough will rise slightly, creating a lighter texture.
Best Reheating Method
Reheat in a preheated oven at 375°F for 10–12 minutes. Add a splash of water to the pan before reheating to create steam, which keeps the filling moist and prevents it from drying out. Let the pies sit for 2 minutes after removing them from the oven; this allows the juices to redistribute.