I was standing in my kitchen, flipping a chicken thigh that had somehow turned into a rubbery, dry slab, when I realized I was about to serve a sad, flavorless dinner. The moment the pan hissed, I cursed the lack of a sauce that could rescue the meat, and a sudden craving hit me like a bolt of lightning: something sweet, savory, and zesty that would turn my kitchen into a flavor laboratory. I reached for the pantry, grabbed fresh ginger, soy sauce, honey, and a handful of other ingredients that seemed like a perfect rescue squad. I knew I could salvage that chicken, but I also wanted to create something that would make my friends say, “I dare you to taste this and not go back for seconds.”
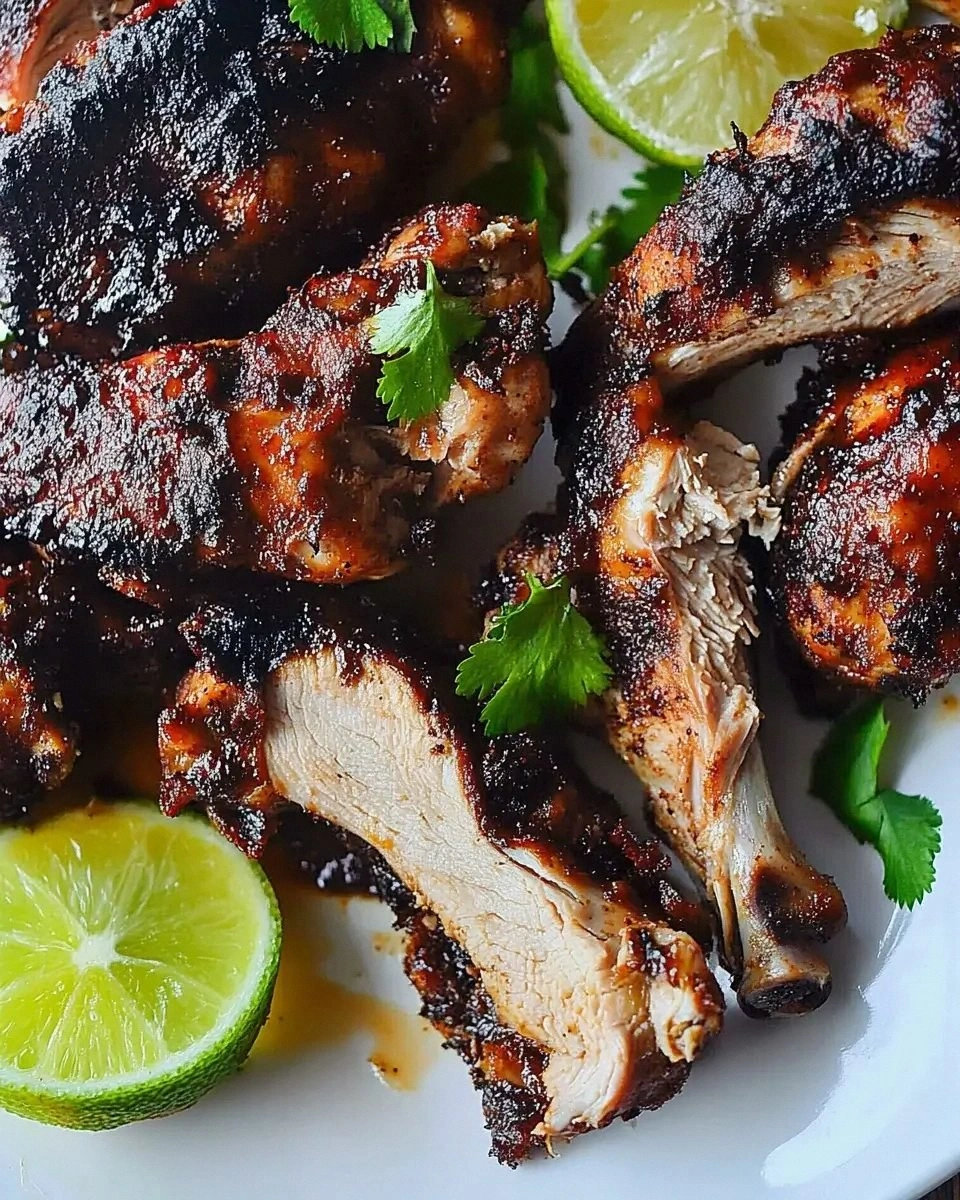
The air in the kitchen thickened with the aroma of sizzling ginger and garlic, a scent that promised depth and warmth. My eyes caught the golden crust forming on the skin, the way the edges were crisping like thin ice before melting into a caramelized glaze. The sound of the pan was a satisfying sizzle, a soundtrack to the transformation of ordinary thighs into a dish that would make your taste buds dance. I could already taste the sweet and salty tang of soy, the bright bite of rice vinegar, and the subtle heat of ginger. The texture, I imagined, would be a contrast between crunchy skin and juicy, tender meat.
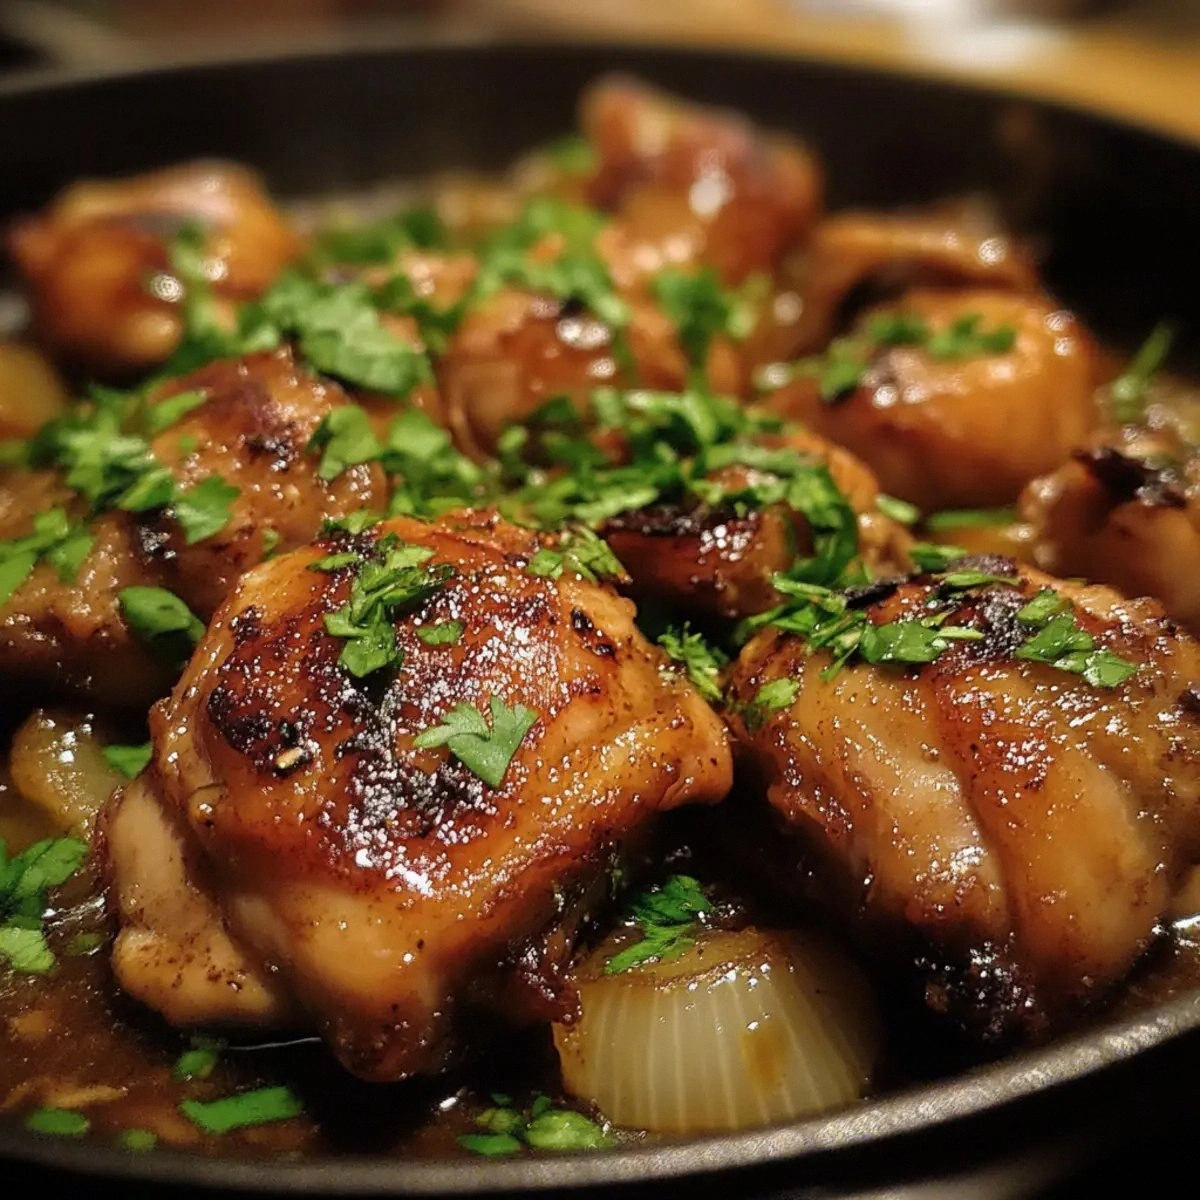
What sets this version apart from every other chicken recipe you’ve seen is the balance of flavors and the simplicity of the technique. I’m not talking about a complex, multi‑step process that requires a sous vide or a pressure cooker. Instead, it’s a one‑pan wonder that delivers bold, layered flavors in less than an hour. The sauce coats the thighs like velvet, hugging every crevice, while the skin crisps to a perfect, buttery crunch. Most recipes get this completely wrong by over‑cooking the meat or under‑developing the glaze. Here, the sauce thickens just enough to cling to the chicken without becoming syrupy.
Picture yourself pulling this out of the skillet, the whole kitchen smelling incredible, steam rising from the glossy glaze, and the anticipation building as you plate the dish. Picture the first bite: a burst of umami, a whisper of sweetness, and a gentle kick of ginger that lingers on the palate. I’ve spent hours tweaking this recipe to get the perfect ratio of soy to honey, the right amount of ginger, and the ideal cooking time to keep the meat juicy. By the end, you’ll wonder how you ever made chicken thighs any other way.
What Makes This Version Stand Out
- Flavor: The sauce marries sweet, salty, and umami in a single, harmonious glaze that coats the meat without overpowering it.
- Texture: The skin crisps to a buttery, golden finish while the interior remains succulently tender.
- Simplicity: One skillet, minimal prep, and a straightforward technique make this dish a kitchen hero.
- Ingredient Quality: Fresh ginger and high‑quality soy sauce elevate the flavor profile beyond store‑bought marinades.
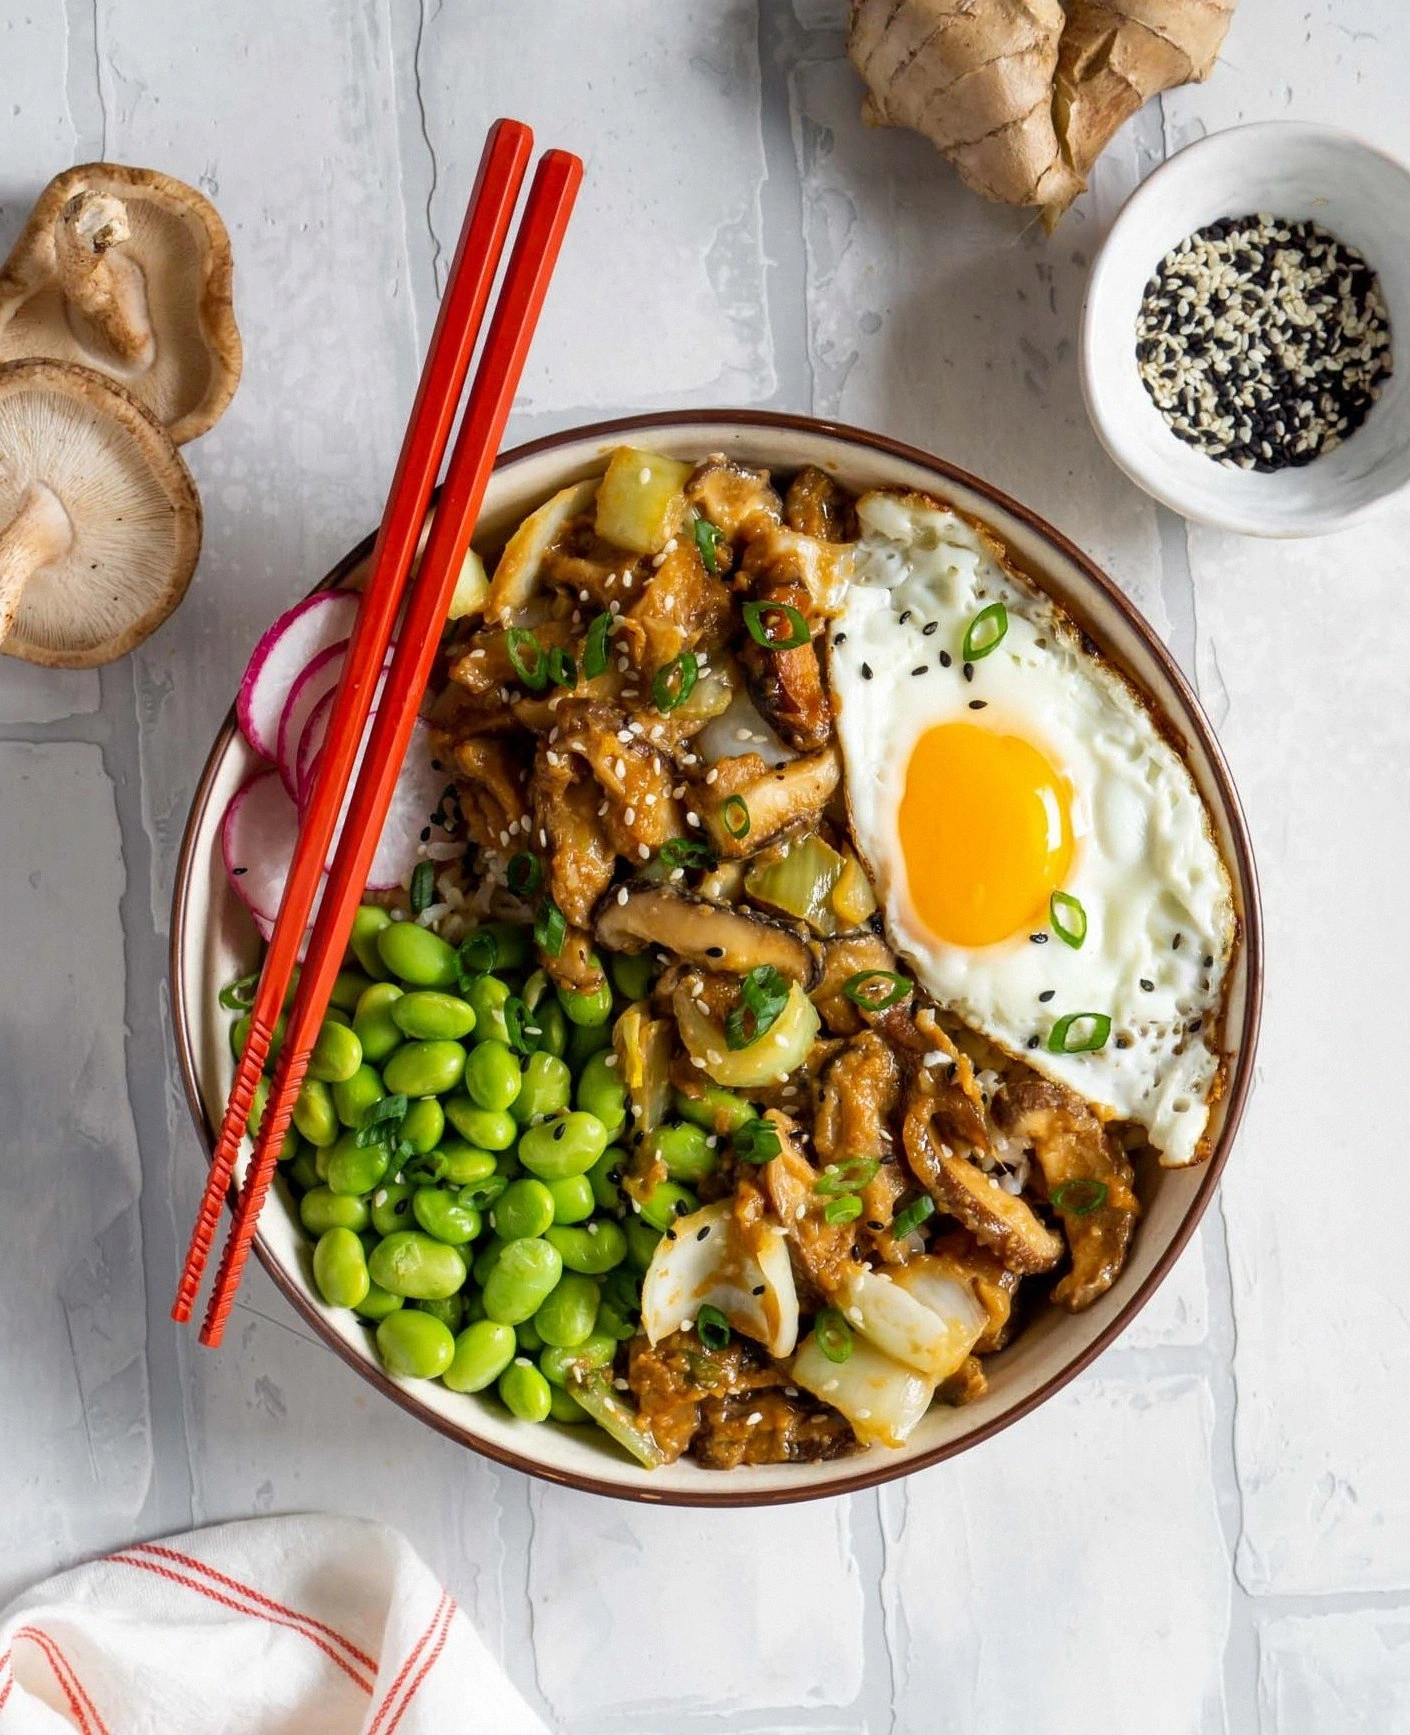
- Versatility: Works beautifully with rice, noodles, or a simple green salad for a complete meal.
- Make‑Ahead Potential: The glaze can be pre‑made and stored, saving you time on busy nights.
Inside the Ingredient List
The Flavor Base
Soy sauce is the backbone of this sauce, providing depth and umami that pairs perfectly with the sweetness of honey. The 1/4 cup of soy sauce may seem modest, but its concentrated flavor is crucial for balancing the dish. If you prefer a lighter version, opt for low‑sodium soy, but keep the ratio the same to maintain the glaze’s thickness.
The Sweet Counterbalance
Honey or brown sugar brings a natural sweetness that softens the sharpness of soy and ginger. The 2 tablespoons are enough to create a glossy coat without turning the sauce into syrup. Swapping honey for maple syrup gives a slightly different flavor profile, but the texture will remain the same.
The Ginger and Garlic Punch
Fresh ginger and garlic are the aromatic heart of the dish, cutting through the richness of the chicken and adding a bright, zesty kick. The 2 tablespoons of grated ginger and 3 minced cloves give a robust flavor that lingers. If you’re allergic to garlic, omit it, but be prepared for a less complex taste.
The Final Flourish
Rice vinegar adds acidity that balances the sweetness, while vegetable oil helps render the skin crisp. The 2 tablespoons of oil ensure the thighs cook evenly, and the 1 tablespoon of vinegar brightens the glaze. Green onions and sesame seeds finish the dish with a fresh, nutty finish.
Everything’s prepped? Good. Let’s get into the real action.
The Method — Step by Step
- Season the chicken thighs on both sides with salt and pepper, then pat them dry with paper towels. The drier the skin, the crispier it will become. Let them sit at room temperature for 10 minutes while you prep the sauce. This short rest allows the seasoning to penetrate the meat. Don’t rush this step; it sets the foundation for the flavor.
- Heat the vegetable oil in a large cast‑iron skillet over medium‑high heat until it shimmers. Add the chicken thighs skin‑side down and sear for 6–7 minutes until the skin is deep golden and releases easily from the pan. Flip the thighs and cook for an additional 4–5 minutes. The goal is a beautiful caramelized crust that locks in juices. This step is the moment of truth.
- While the chicken is searing, combine soy sauce, honey, rice vinegar, grated ginger, and minced garlic in a small bowl. Whisk until the honey dissolves and the mixture is smooth. A uniform sauce ensures even coating and prevents clumping. Keep the mixture ready; it will be added right after the chicken is flipped.
- Pour the sauce over the chicken thighs, letting it bubble and reduce for 2–3 minutes. The glaze should thicken slightly and coat the meat. Use a spoon to baste the thighs, ensuring every piece is drenched. The sauce will caramelize, creating a glossy, flavorful coating.
- Reduce the heat to medium and cover the skillet. Let the thighs cook for 12–15 minutes, turning once, until the internal temperature reaches 165°F (75°C). The lid traps steam, ensuring the meat stays moist. Check the temperature with a meat thermometer for accuracy. This step guarantees perfectly cooked chicken.
- Remove the lid, increase the heat to high, and let the sauce reduce further for 3–4 minutes. The glaze should become thick enough to cling to the thighs without dripping. Stir occasionally to avoid burning. Watch for the glaze’s transformation; it will go from liquid to a syrupy consistency.
- Add the sliced green onions, tossing them into the sauce so they soften slightly. Sprinkle sesame seeds over the top, allowing them to toast in the residual heat. The green onions add freshness, while the sesame seeds contribute a nutty crunch. This final touch elevates the dish’s visual appeal.
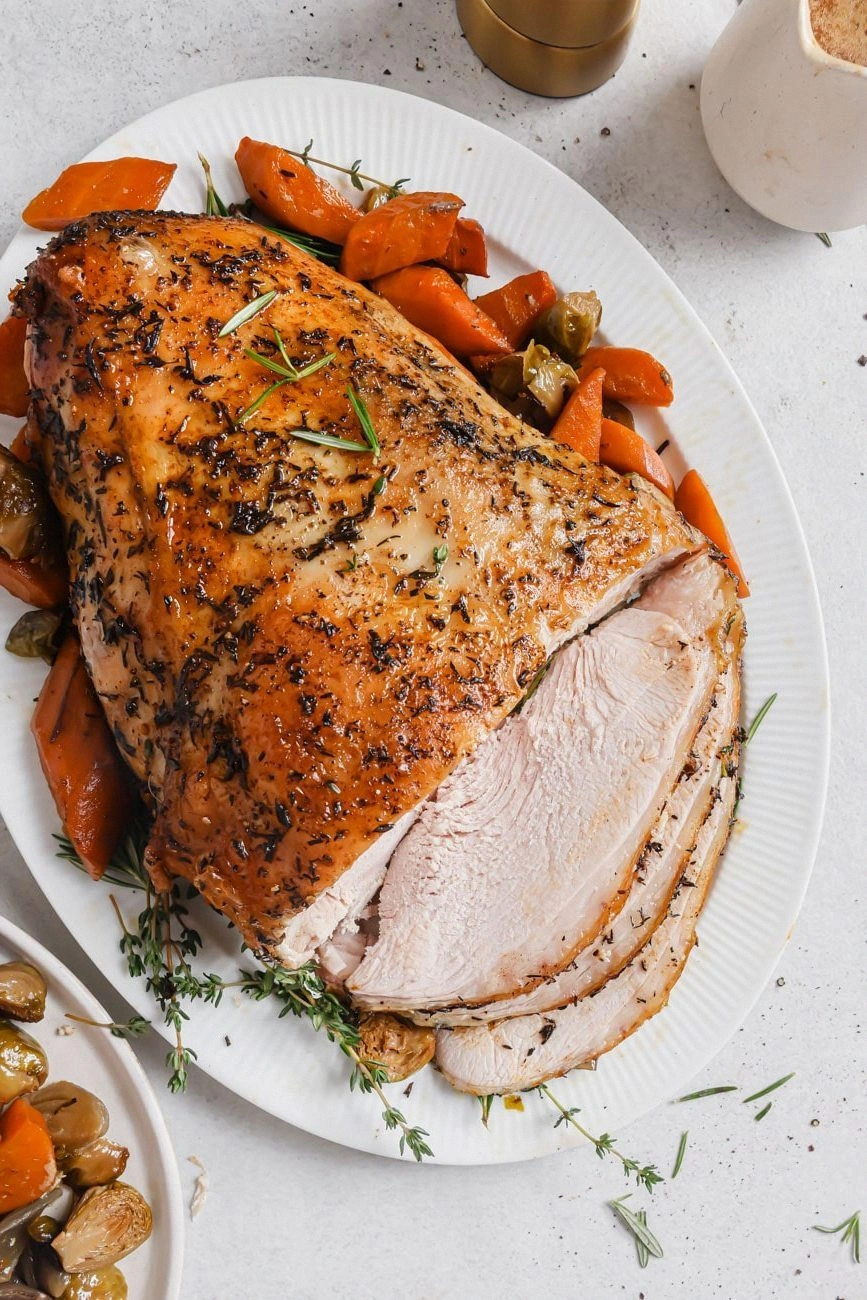
- Transfer the thighs to a serving platter, spooning the remaining glaze over the top. Plate with steamed rice or noodles, and drizzle any extra sauce on the side. Garnish with a few extra green onions for color. Serve immediately while the skin is still crisp and the glaze is glossy. Enjoy the masterpiece you’ve created.
That's it — you did it. But hold on, I've got a few more tricks that'll take this to another level.
Insider Tricks for Flawless Results
The Temperature Rule Nobody Follows
Many cooks over‑cook the thighs on high heat, resulting in dry meat. I’ve found that searing at medium‑high and then finishing at medium keeps the juices locked in. The key is to let the internal temperature rise gradually; this ensures the skin crisps without the meat drying out. Use a thermometer to check for 165°F (75°C) before removing from heat.
Why Your Nose Knows Best
The first scent of the sauce should be sweet and slightly tangy. If it smells overwhelmingly garlicky or vinegary, adjust by adding a splash of honey or a pinch of salt. Your nose is your best flavor guide; trust it to tell you when the balance is off. A well‑balanced aroma signals a well‑balanced dish.
The 5‑Minute Rest That Changes Everything
Letting the chicken rest for 5 minutes after cooking allows the juices to redistribute, preventing them from spilling onto the plate. This short rest also lets the glaze thicken slightly, making it easier to coat the meat when you serve. It’s a simple step that can make a noticeable difference in texture.
The Sauce‑to‑Meat Ratio Hack
If you prefer a thicker glaze, reduce the sauce by simmering it for an extra 2 minutes before adding the chicken. Conversely, for a lighter coating, add a splash of water or broth. Adjusting the ratio can tailor the dish to your preference for sweetness or saltiness.
The Quick Garnish Trick
Instead of chopping green onions, use a mandoline to slice them thinly. Thin slices melt into the glaze, creating a subtle, onion‑infused flavor. If you’re in a hurry, a handful of pre‑sliced scallions works just as well.
The Finish with Fresh Herbs
A handful of fresh cilantro or parsley added at the end brightens the dish and adds a pop of color. The herbs also bring a fresh contrast to the rich, sweet glaze. Sprinkle them just before serving to preserve their aroma.
Creative Twists and Variations
Spicy Sriracha Kick
Swap half the honey with sriracha for a sweet‑heat combo that will keep you reaching for more. The chili’s heat pairs beautifully with the ginger’s bite, creating a dynamic flavor profile. This version is perfect for those who enjoy a little spice in every bite.
Coconut‑Infused Comfort
Replace the rice vinegar with coconut milk and reduce the honey slightly. The creamy coconut adds a subtle sweetness and a tropical twist. This variation works well with jasmine rice or quinoa.
Mediterranean Twist
Add a tablespoon of chopped sun‑dried tomatoes to the sauce for a chewy, tangy element. The tomatoes’ acidity balances the sweetness, while the olive oil enhances the glaze. Serve over a bed of couscous for a Mediterranean flair.
Herb‑Infused Delight
Stir in a handful of fresh thyme or rosemary during the final simmer. The herbs infuse the glaze with earthy tones that complement the soy. This version is ideal for a cozy, herb‑rich dinner.
Asian Noodle Bowl
Serve the thighs over ramen or soba noodles, topped with a drizzle of extra glaze. Add sliced bamboo shoots and bean sprouts for crunch. The dish transforms into a hearty noodle bowl with a burst of flavor.
Low‑Carb Version
Omit the honey and replace it with erythritol or another low‑carb sweetener. Keep the soy sauce and vinegar for flavor. Pair with cauliflower rice for a keto‑friendly meal.
Storing and Bringing It Back to Life
Fridge Storage
Cool the thighs completely before refrigerating in an airtight container. Store for up to 3 days, ensuring the glaze doesn’t separate. When ready to serve, reheat gently on the stovetop or in the microwave, adding a splash of water to re‑hydrate the glaze.
Freezer Friendly
Wrap each thigh individually in parchment paper, then place in a freezer bag. Freeze for up to 3 months. Thaw overnight in the fridge before reheating; this prevents condensation and keeps the skin crisp.
Best Reheating Method
Reheat in a skillet over medium heat, adding a tablespoon of water to create steam. This method restores the glaze’s sheen and keeps the meat moist. Avoid microwaving the skin, as it will become rubbery.