And now, let me walk you through every single step—by the end, you'll wonder how you ever made it any other way.
What Makes This Version Stand Out
- Taste: The combination of beef and rice creates a savory depth that traditional meatballs lack. The tomato sauce, simmered with a touch of garlic powder, adds a gentle sweetness that balances the richness. The result is a complex flavor profile that satisfies both comfort cravings and adventurous palates.
- Texture: The rice inside each ball expands, giving a unique chew that contrasts with the firm exterior. This dual texture keeps the mouth moving and prevents the meat from drying out. The result is a satisfying bite that feels like a mini surprise.
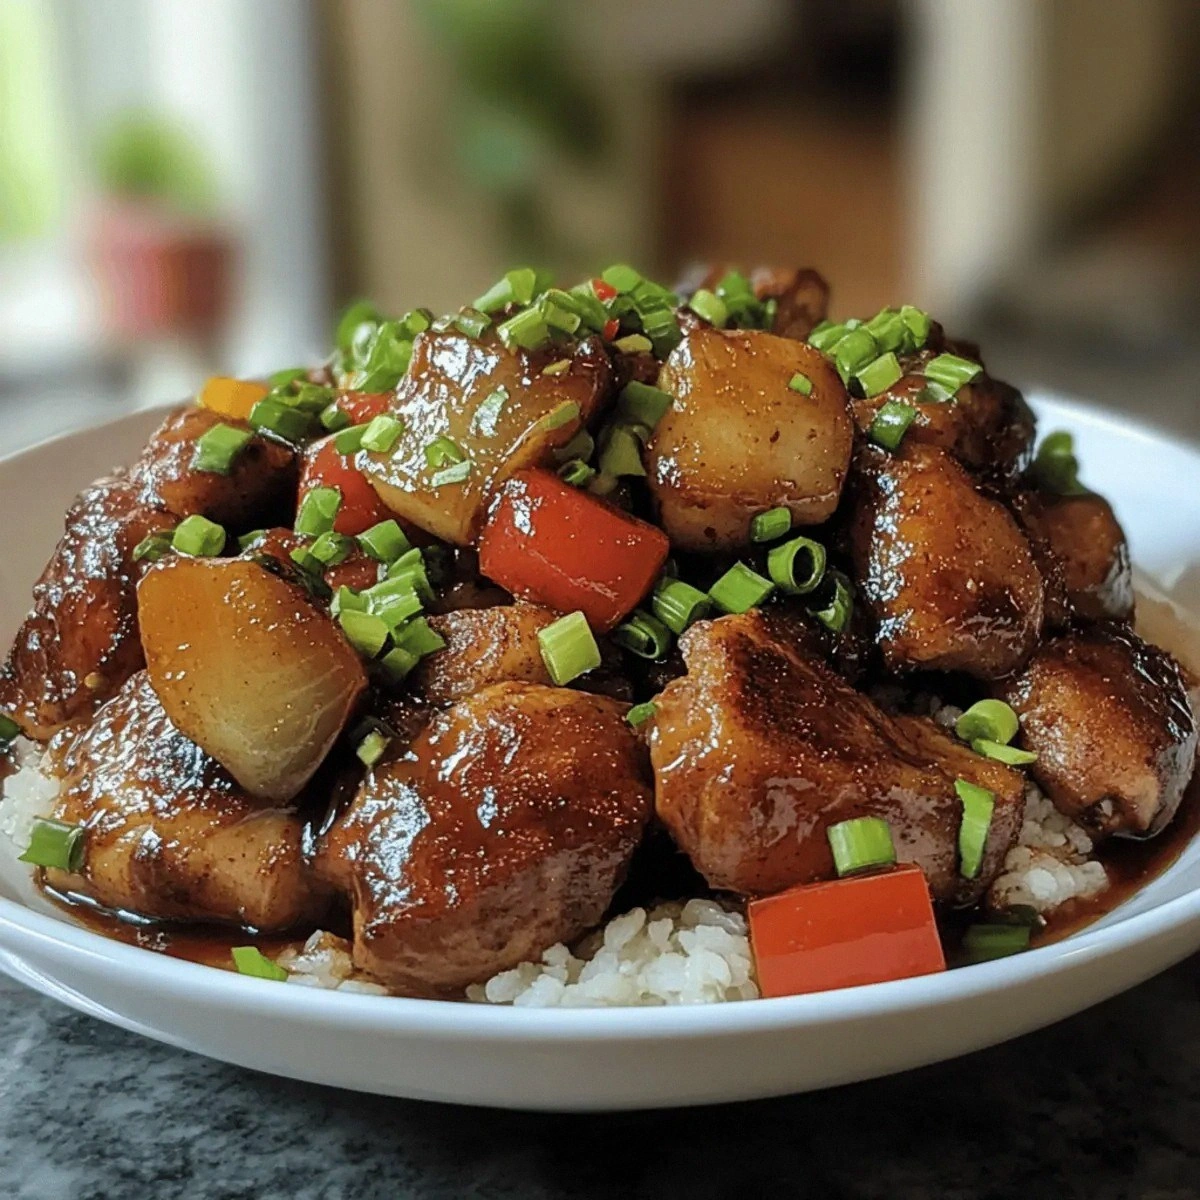
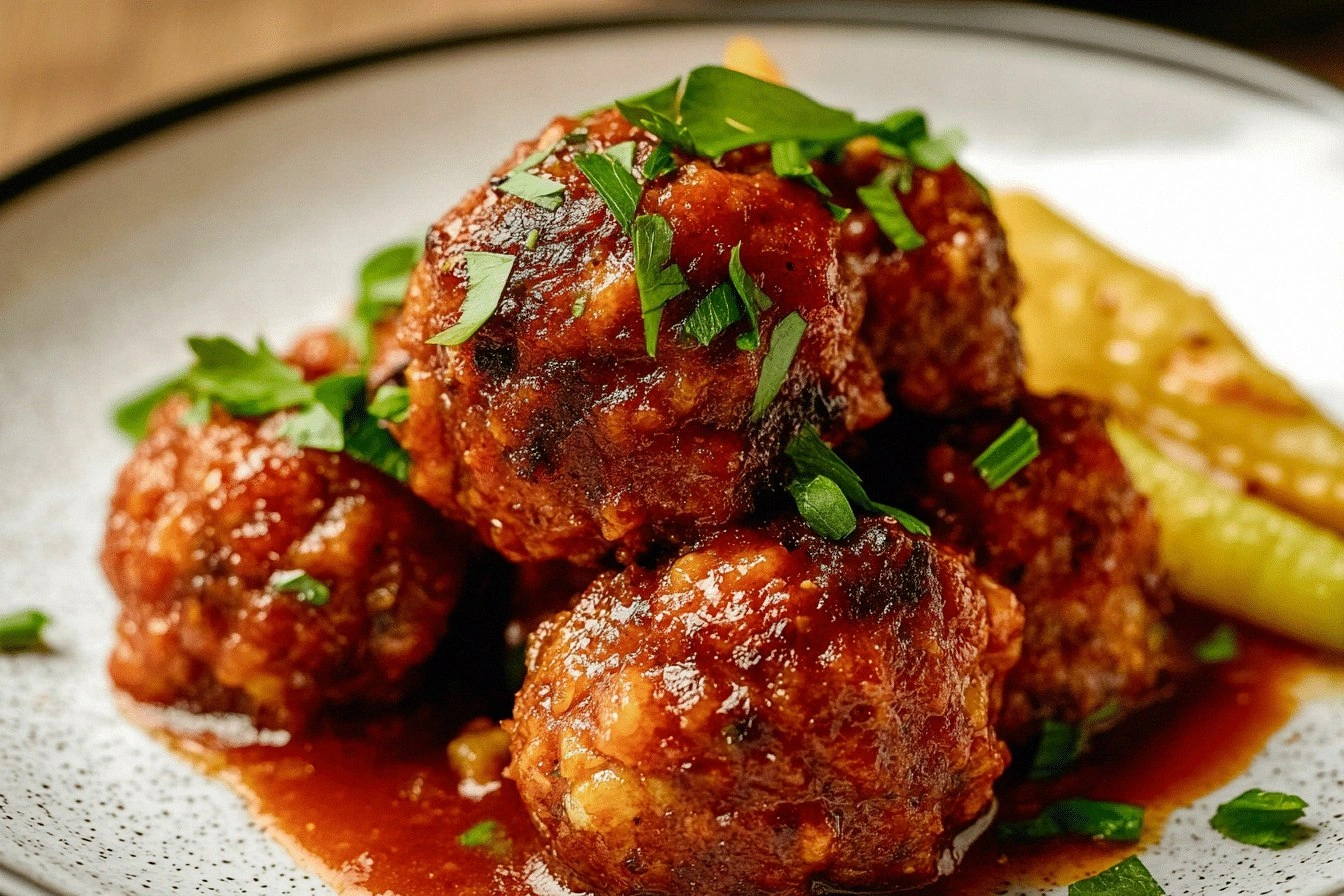
- Visual Appeal: The meatballs emerge from the pan with a speckled, almost starry surface. That speckled look is the “porcupine” effect—tiny rice grains jutting out like quills. It’s a visual treat that makes the dish Instagram‑ready.
- Ease of Preparation: No elaborate steps or fancy ingredients are required. Just a handful of pantry staples and a few minutes of hands‑on mixing. This simplicity makes it a go‑to for busy weeknights.
- Versatility: Whether you serve them over pasta, in a sub, or on their own, they adapt to any cuisine. The sauce can be swapped for marinara, pesto, or a creamy white sauce. The flexibility keeps the dish fresh every time.
- Make‑Ahead Friendly: You can bake them in advance and reheat without losing texture. The rice remains tender and the sauce stays flavorful. This makes it perfect for meal prep or entertaining.
- Budget‑Friendly: All ingredients are inexpensive and widely available. The recipe yields a generous portion for a fraction of the cost of a restaurant meal. It’s a smart, tasty choice for tight budgets.
- Kid‑Friendly: Children love the fun texture and the mild flavors. The meatballs are easy to eat with a fork or fingers. It’s a hit at family gatherings.
Inside the Ingredient List
The Flavor Base
Lean ground beef is the heart of this dish, offering robust flavor while remaining juicy. The meat’s fat content is balanced to keep the meatballs moist without being greasy. If you prefer a leaner option, substitute with turkey or chicken, but be cautious of drying out.
The Texture Crew
White rice is the star that expands inside, giving that signature porcupine texture. Cook the rice lightly before adding to the mixture to prevent it from becoming mushy during baking. For a gluten‑free version, use rice flour instead of breadcrumbs.
The Unexpected Star
Onion adds subtle sweetness and a depth that balances the savory meat. Finely chop it to distribute evenly; larger pieces will create pockets of sweetness. If you’re allergic, try shallots for a milder flavor.
The Final Flourish
Breadcrumbs bind the mixture, preventing the meatballs from falling apart. They also absorb excess moisture, keeping the texture firm. A pinch of salt and pepper enhances the overall taste, while garlic powder adds a fragrant kick.
Everything's prepped? Good. Let's get into the real action...
The Method — Step by Step
- Preheat your oven to 375°F (190°C). Line a rimmed baking sheet with parchment paper to keep the meatballs from sticking. In a large bowl, combine the lean ground beef with the finely chopped onion, ensuring the mixture is well mixed. Add the beaten egg and stir until the mixture starts to bind. Sprinkle in the breadcrumbs, garlic powder, salt, and pepper, then mix until the mixture is cohesive but still slightly loose. This step is crucial; overmixing will make the meatballs tough.
- Rinse the white rice under cold water until the water runs clear. In a saucepan, bring 2 cups of water to a boil and add the rice. Reduce heat to low, cover, and simmer for 8 minutes—just enough so the grains are firm but not fully cooked. Drain any excess liquid and let the rice cool slightly. The rice should be damp but not wet; this prevents it from turning mushy inside the meatballs.
- Take a tablespoon of the meat mixture and flatten it in your palm. Place a spoonful of rice in the center, then cover the rice with more meat mixture, sealing the edges. Repeat until all the mixture and rice are used. The goal is to keep the rice completely encased to avoid any exposure to the oven air. This is where the porcupine effect begins to take shape.
- Arrange the formed meatballs on the prepared baking sheet, spacing them about 2 inches apart to allow even cooking. Brush each ball lightly with olive oil or spray to promote browning. Place the sheet in the preheated oven and bake for 20 minutes. Flip each meatball halfway through to ensure a golden crust on all sides. The internal temperature should reach 160°F (71°C) for safety.
- While the meatballs are baking, pour the tomato soup or sauce into a saucepan. Add 1 cup of water or broth to thin it slightly and bring to a gentle simmer. Stir in a pinch of salt and pepper to taste. Let the sauce simmer for 5 minutes to meld flavors. This step ensures the sauce is ready to coat the meatballs perfectly.
- Remove the meatballs from the oven and transfer them to a large baking dish. Pour the simmering tomato sauce over the meatballs, ensuring each ball is coated. Cover the dish with foil and return to the oven for an additional 10 minutes. This allows the flavors to meld and the rice to finish cooking inside. The sauce should thicken slightly and cling to the meatballs.
- Remove the foil, give the sauce a quick stir, and let the meatballs rest for 5 minutes before serving. This resting period allows the juices to redistribute, keeping the meatballs moist. Serve hot over pasta, rice, or a fresh salad. Garnish with fresh parsley or grated Parmesan if desired. Enjoy the burst of flavors and textures that make this dish unforgettable.
That's it — you did it. But hold on, I've got a few more tricks that'll take this to another level...
Insider Tricks for Flawless Results
The Temperature Rule Nobody Follows
Many people bake at 400°F, but 375°F gives a more even cook and prevents the outside from burning while the inside remains undercooked. The lower temperature allows the rice to expand fully without the meatball crust hardening too quickly. If you’re in a hurry, you can increase to 400°F for the last 5 minutes, but keep a close eye to avoid scorching.
Why Your Nose Knows Best
As the meatballs bake, the aroma will shift from raw meat to a comforting, tomato‑rich scent. Trust that smell; it means the sauce is caramelizing and the meat is reaching the right internal temperature. If the scent feels off, check the oven temperature or the meatball size.
The 5-Minute Rest That Changes Everything
Letting the meatballs rest after baking allows the internal juices to settle. This prevents them from spilling out when you cut into them, ensuring a neat, moist bite. A short rest also helps the rice to finish cooking in the residual heat.
Stirring the Sauce Early
Stir the tomato sauce as soon as it reaches a simmer to prevent sticking to the bottom of the pan. This simple step ensures a silky texture and prevents burnt bits from ruining the flavor profile. Keep the heat low once the sauce is simmering.
Using a Meat Thermometer
Meat thermometers are a game changer for beginners. Insert it into the center of a meatball; it should read 160°F (71°C). This guarantees safety and optimal texture without guessing.
Serving Temperature Matters
Serve the meatballs hot right out of the oven for maximum flavor. If you’re plating for a crowd, keep them in a slow cooker set on low to maintain warmth without drying out. A warm plate also helps the sauce cling better.
Creative Twists and Variations
This recipe is a playground. Here are some of my favorite ways to switch things up:
Spicy Korean Twist
Swap the tomato sauce for gochujang‑infused Korean barbecue sauce. Add a handful of chopped kimchi to the mixture for a tangy crunch. Serve over steamed rice for an authentic Korean flavor.
Cheesy Italian Flair
Fold shredded mozzarella into the meat mixture for gooey pockets. Replace tomato soup with marinara and sprinkle grated Parmesan on top before baking. Pair with spaghetti for a hearty dinner.
Herb‑Infused Mediterranean
Add chopped fresh basil, oregano, and parsley to the meat mixture. Use a Greek yogurt base instead of tomato sauce for a creamy, tangy coating. Serve with warm pita and a side of tzatziki.
Low‑Carb Alternative
Replace white rice with cauliflower rice or shredded zucchini. Use almond flour instead of breadcrumbs for a gluten‑free option. The texture will be slightly different but still satisfying.
Breakfast Breakfast
Serve the meatballs on toasted English muffins with a fried egg on top. Drizzle with a light béchamel sauce for a comforting brunch. The rice inside keeps the bite interesting.
Gluten‑Free Comfort
Use gluten‑free breadcrumbs or ground nuts to bind the mixture. Ensure the rice is cooked without added salt to avoid cross‑contamination. The dish remains hearty and flavorful.
Storing and Bringing It Back to Life
Fridge Storage
Cool the meatballs completely before placing them in a shallow airtight container. Store in the refrigerator for up to 3 days. The rice inside keeps the meatballs moist, preventing them from drying out.
Freezer Friendly
Place the baked meatballs on a parchment‑lined tray and freeze until solid. Transfer to a freezer bag and label with the date. They can be stored for up to 2 months without losing quality.
Best Reheating Method
Reheat in a saucepan with a splash of water or broth, covering to create steam. Bring to a gentle simmer for 5 minutes, then finish under the broiler for 2 minutes to restore the crisp exterior. Add a tiny splash of water before reheating to keep the rice from drying out.